Ventoy: A tool that changes Bootable USB Creation forever
Creating a bootable USB is a handy solution for anyone who’s ever had to install or repair an operating system. Tools like Rufus have been popular for ages, but let’s face it, they can be a bit limiting, especially if you’re trying to juggle multiple ISO files on one USB stick or if you're like me and have dozens of USBs lying around everywhere. Say hello to Ventoy, a refreshing alternative that makes creating bootable USBs way more flexible and super easy to use. Let’s dive into what Ventoy is all about, why it’s such a cool alternative to tools like Rufus, and how you can set it up to boot multiple OS images effortlessly.
What is Ventoy?
Ventoy is an open-source tool for creating bootable USB drives with a significant twist: instead of reformatting your USB every time you need a new OS image, you can simply drag and drop multiple ISO files onto the drive, and Ventoy will handle the rest. Once you boot from the Ventoy USB, it presents a list of the images on your drive, allowing you to select which OS to boot.
Cool Features of Ventoy
Ventoy brings a host of features that elevate it above traditional bootable USB tools:
Multi-Boot Capability: With Ventoy, you don’t have to limit yourself to a single OS. You can add as many ISO files as your USB can handle, allowing you to boot any of them at will.
Support for Various Image Formats: Ventoy isn’t just limited to ISO files. It supports IMG, VHD, and even EFI files, making it versatile for different operating systems, including Windows, Linux, and even some recovery tools like Medicat.
Seamless Updates: When a new version of an OS comes out, you don’t have to recreate your USB from scratch. Just replace the old ISO file with the new one on the Ventoy USB, and you’re ready to go.
No Need to Reformat: Other tools require a format before installing each new OS. Ventoy, however, maintains its structure, so you only need to copy over the ISO files to the USB drive without erasing existing files.
Persistence Support: Ventoy also allows you to create persistent storage for specific Linux distributions, enabling you to save changes and data across reboots, which can be especially useful for live Linux sessions.
Cross-Platform Compatibility: Ventoy works on both Windows and Linux, and its USBs are compatible with both UEFI and legacy BIOS systems, maximizing the range of systems it can boot on.
Ventoy vs. Rufus: Key Differences
While both Ventoy and Rufus aim to create bootable USB drives, they have some core differences:
| Feature | Ventoy | Rufus |
|---|---|---|
| Multi-Boot support | Yes, multiple ISOs on a single USB | No, one ISO per USB |
| Image Format Support | ISO, IMG, VHD, EFI, and more | Mostly ISO files |
| Reformatting Required | Just copy new ISOs to USB | Requires reformatting |
| Persistence | Yes, for select Linux distributions | Yes, but with more limitations |
| Setup Complexity | Requires installing Ventoy onto USB | Just format USB with Rufus |
Setting Up a Ventoy USB
Setting up a Ventoy USB is straightforward. Let’s walk through the steps to get you started with Ventoy:
Step 1: Download Ventoy
Visit the Ventoy official website here and download the latest release for your operating system (Ventoy is available for Windows and Linux). Extract the ZIP file once it’s downloaded.

Step 2: Install Ventoy on Your USB Drive
Insert the USB drive that you want to use for Ventoy. Ensure it’s at least 8GB and, ideally, empty, as the process will format it.
Open the extracted Ventoy folder and launch the Ventoy2Disk utility:
On Windows, double-click Ventoy2Disk.exe.
On Linux, run sudo sh Ventoy2Disk.sh.
Select your USB drive in the application interface.
Click on Install to install Ventoy on the drive. A warning will appear, letting you know that the drive will be formatted. Confirm to proceed.

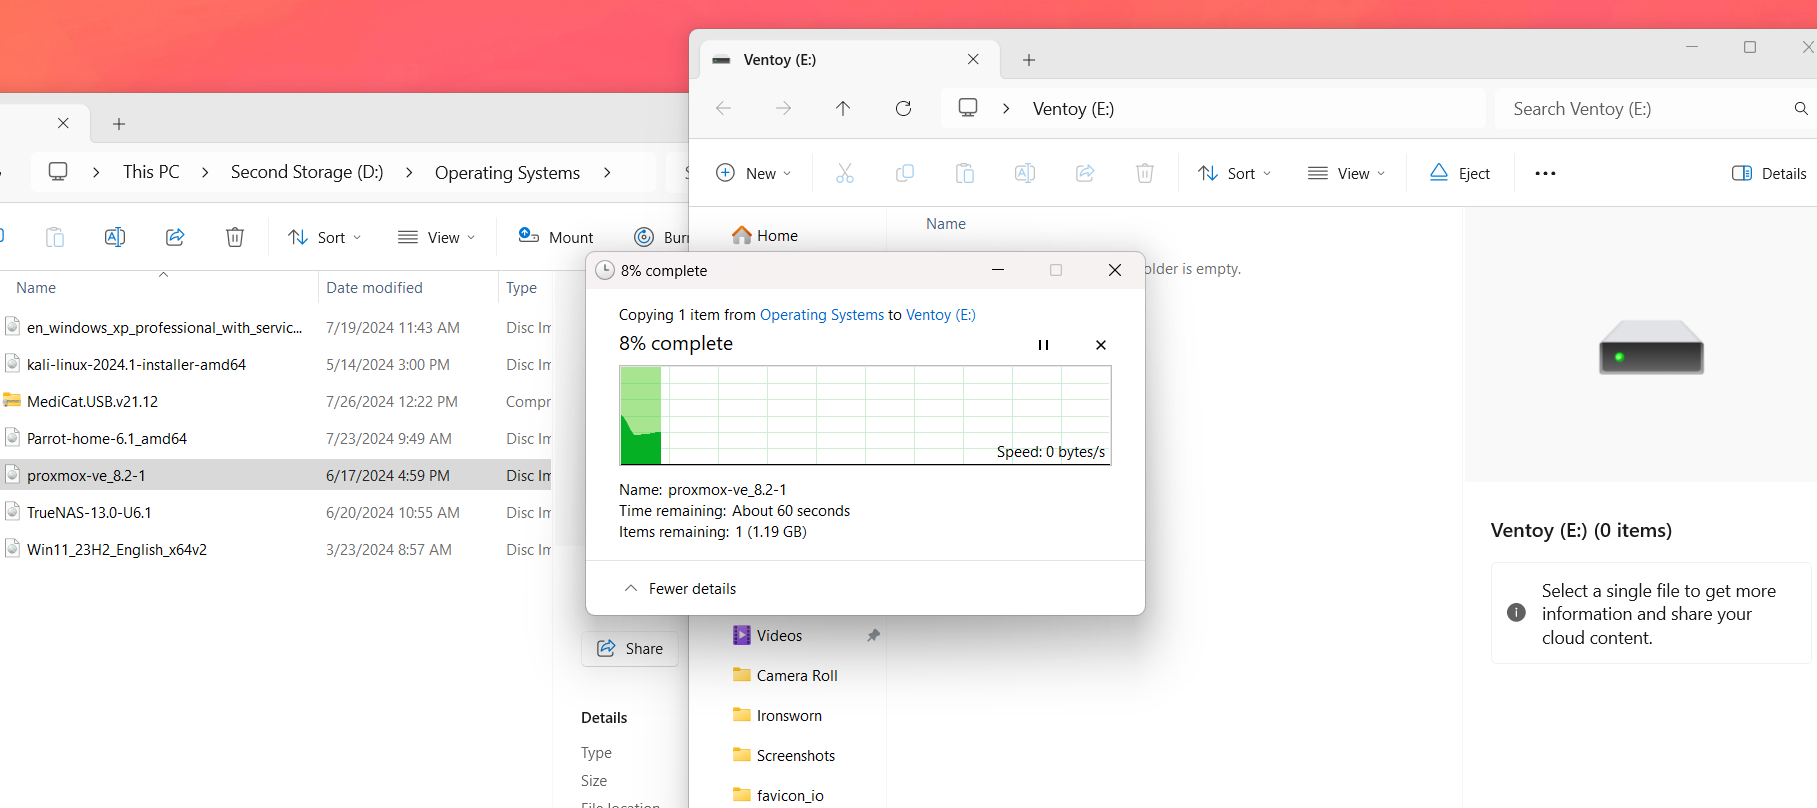
Step 3: Copy Your ISO Files
Once the installation is complete, your USB drive is now a Ventoy drive. To add bootable ISOs:
Simply drag and drop ISO, IMG, or other supported files onto the USB drive.
There’s no need to do anything else. Ventoy will detect the files automatically.
Step 4: Boot From Ventoy USB
Insert your Ventoy USB into the computer you wish to boot.
Access the computer’s boot menu (this usually involves pressing F2, F12, Esc, or another key during startup on your particular computer. Google is your friend).
Select your USB drive from the list of bootable devices.
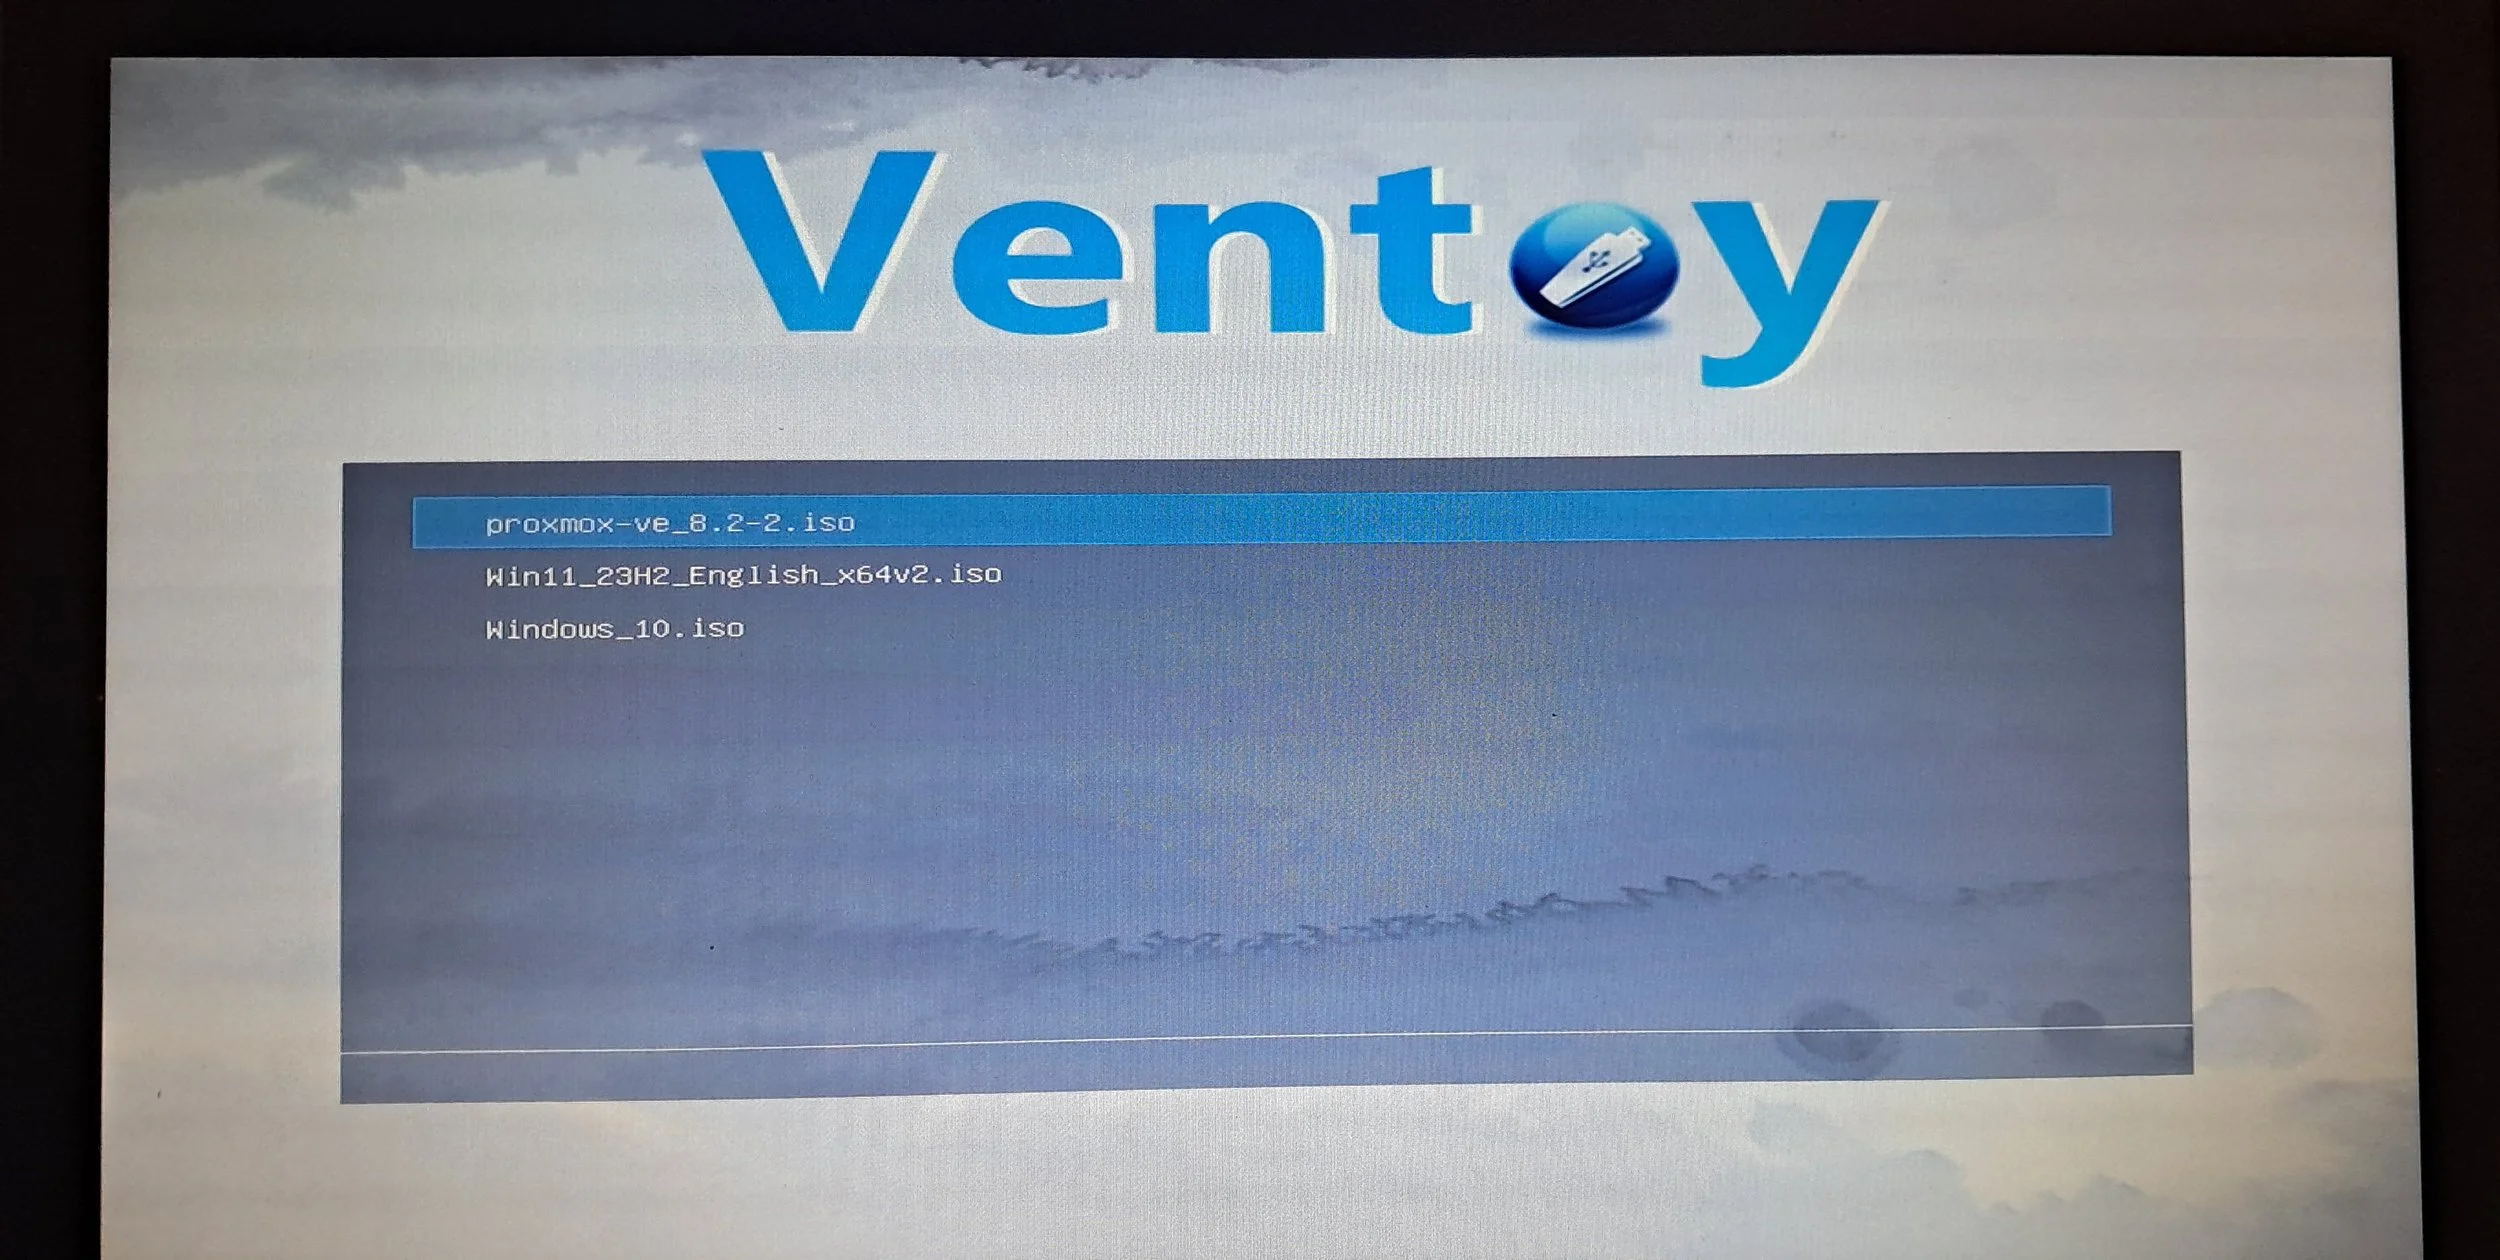
Ventoy will display a menu of the ISO files on the USB. Use the arrow keys to select the ISO you want to boot from, and press Enter.
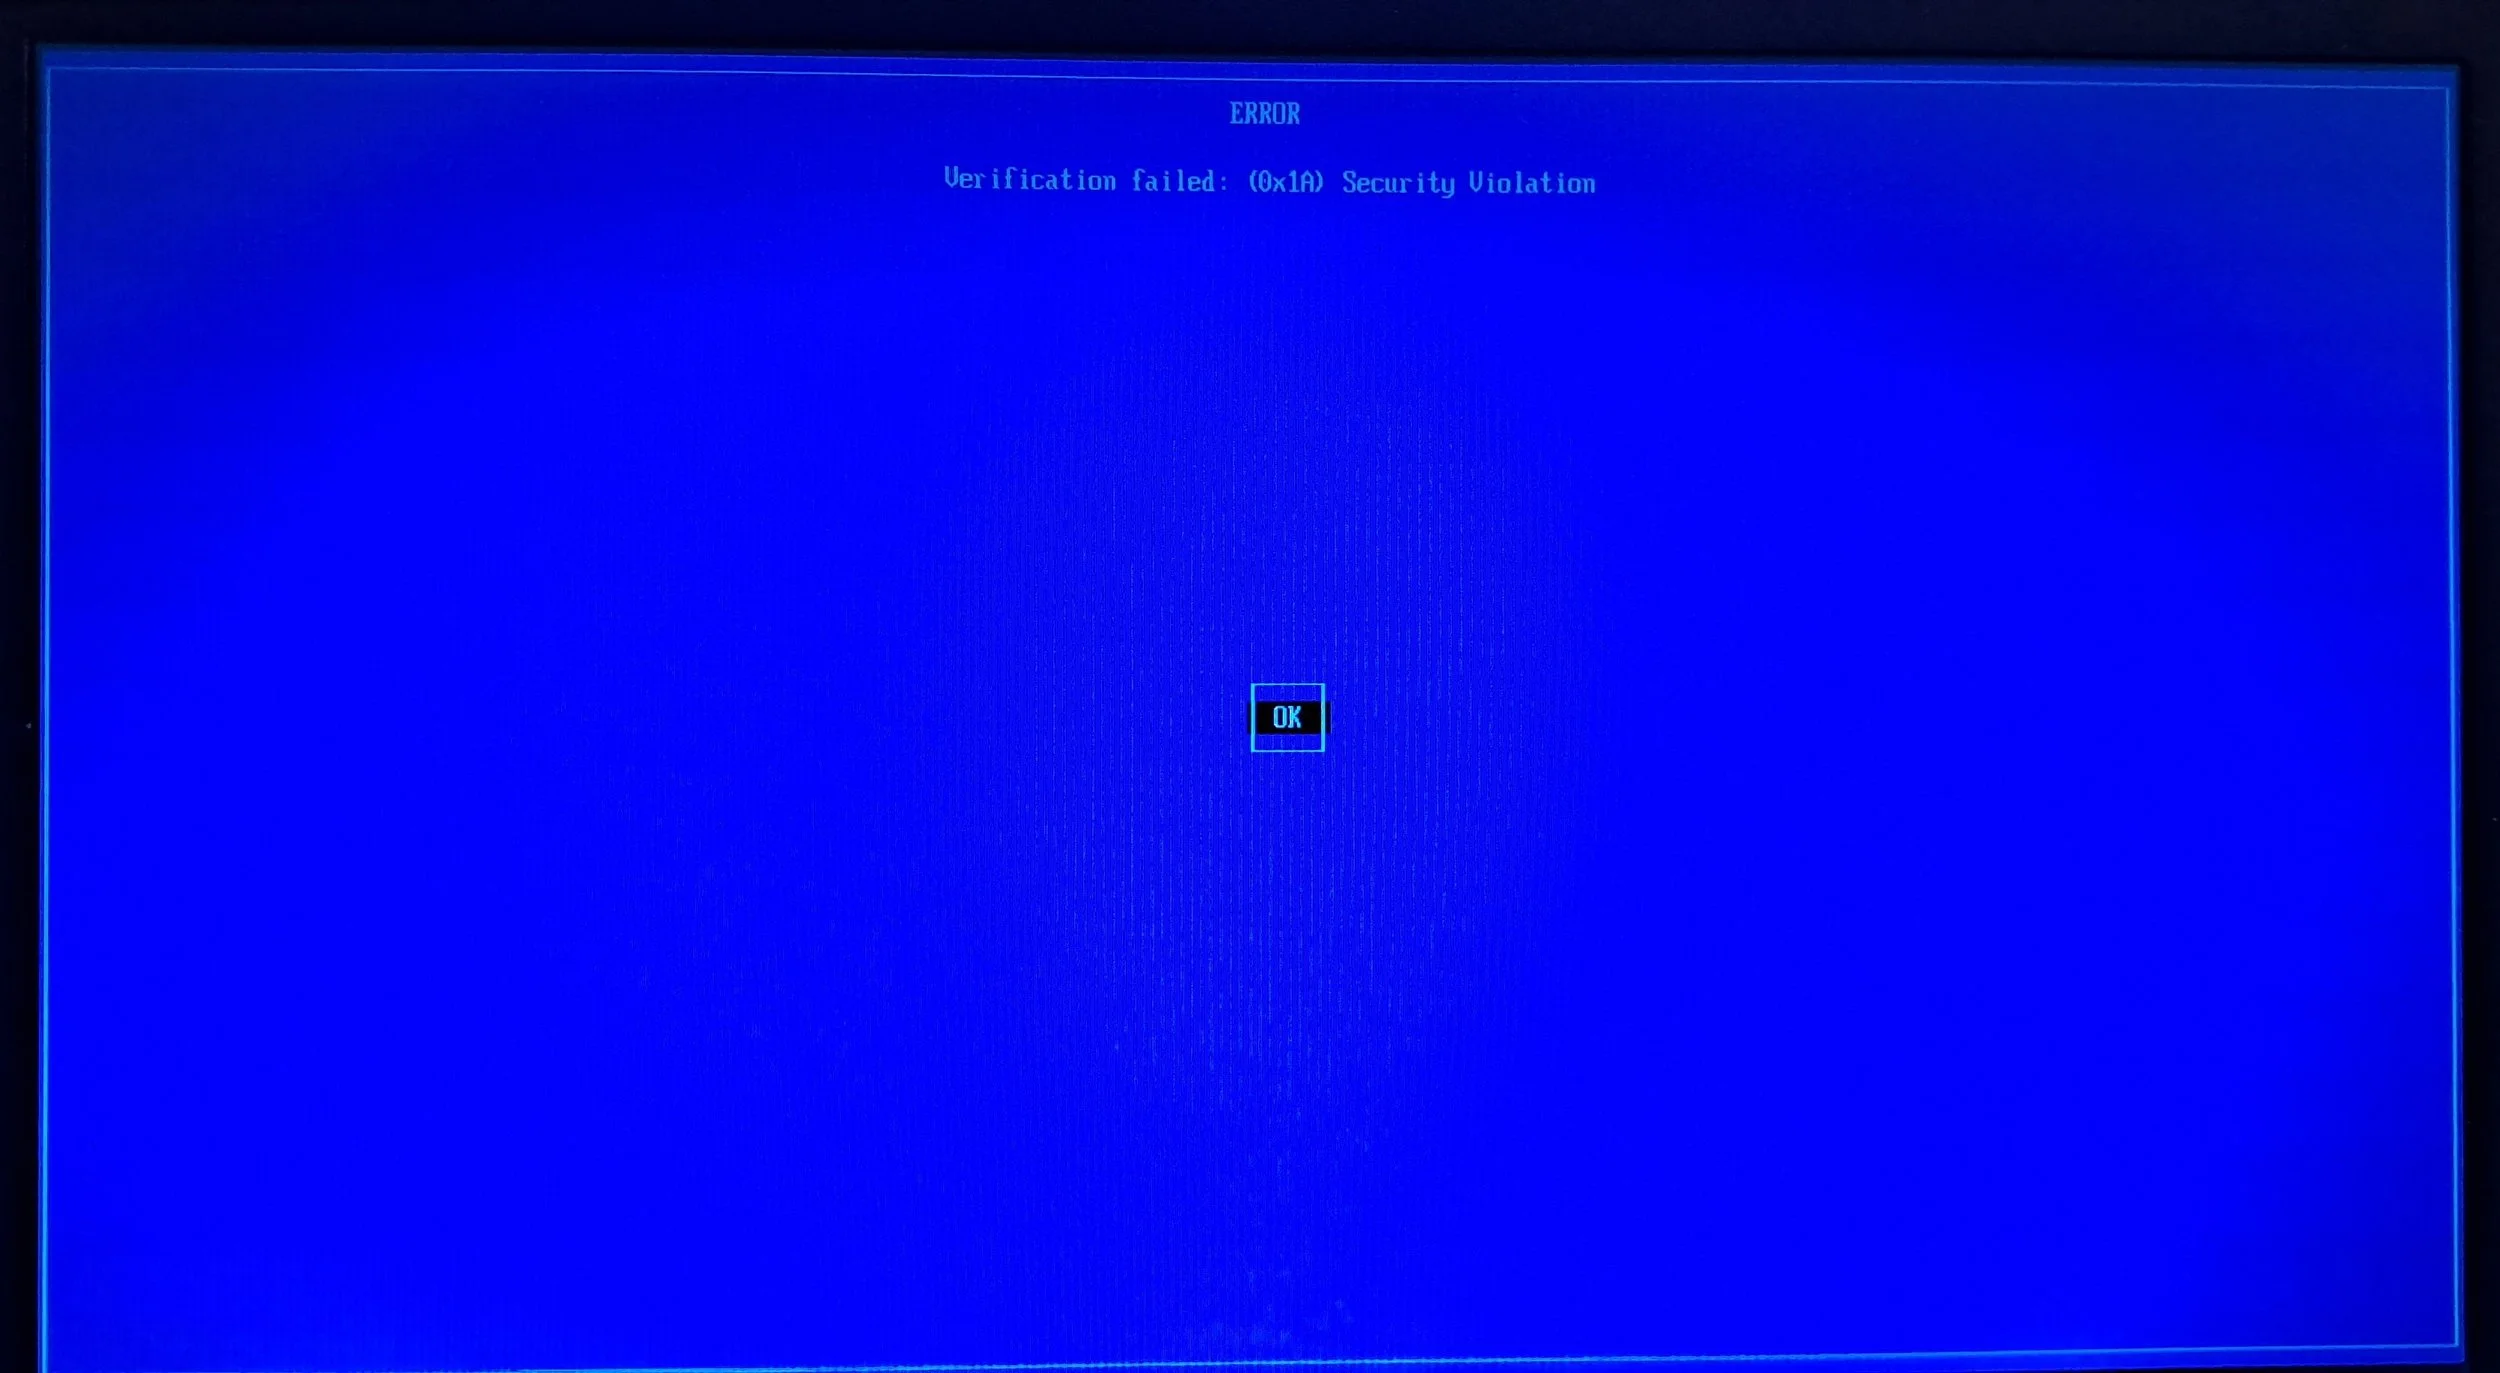
Ventoy as a Secure Boot Option
A common problem when booting Ventoy is Windows Secure Boot is enabled and verification fails for the drive. On the blue screen perform MOK management by pressing any key.
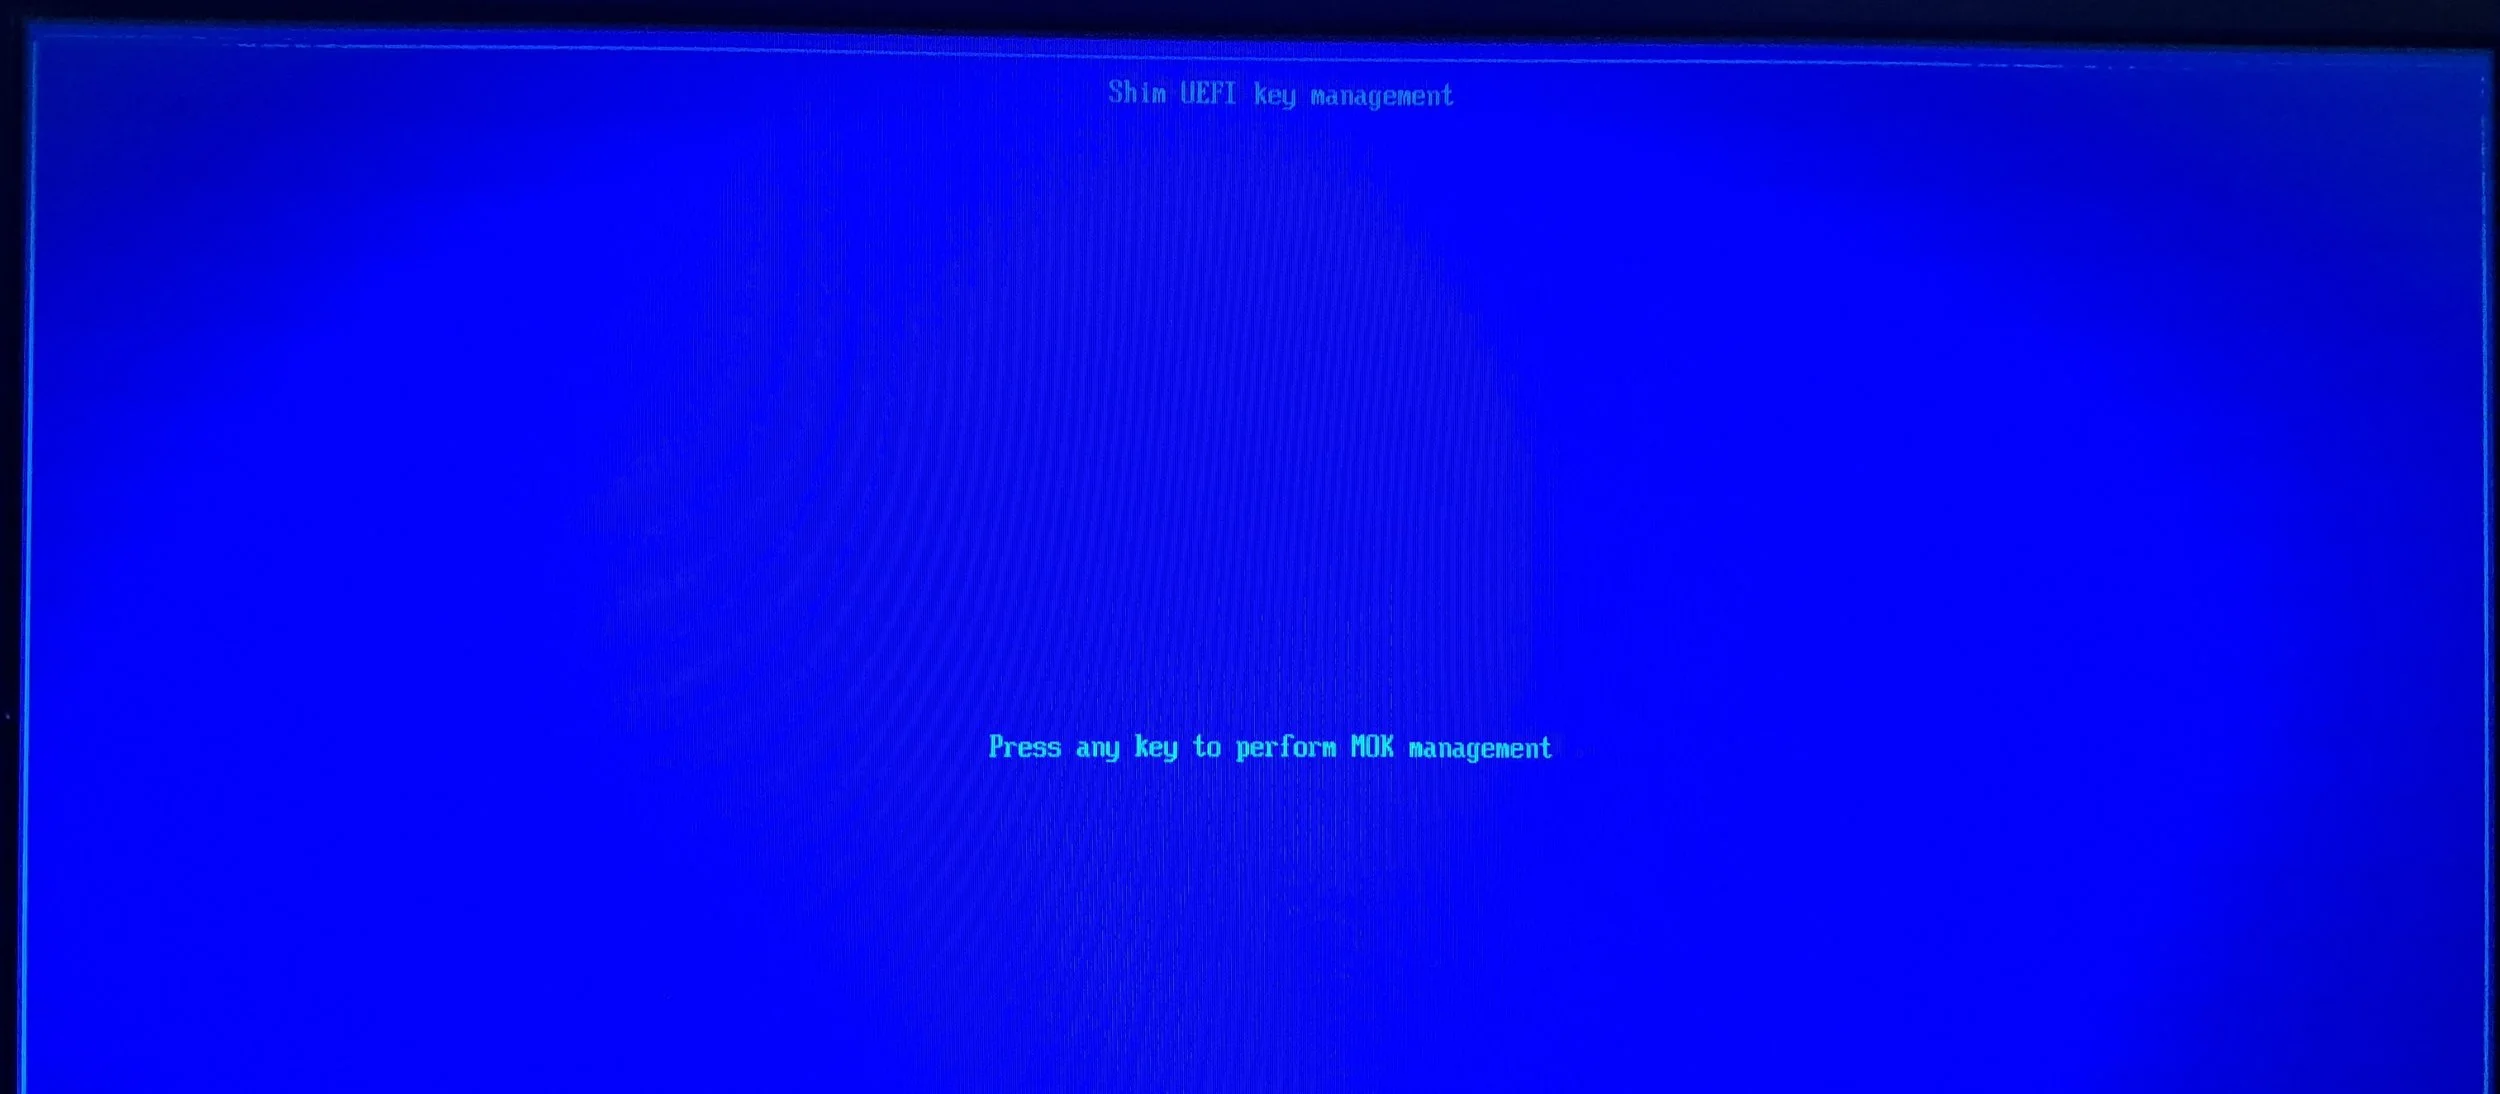
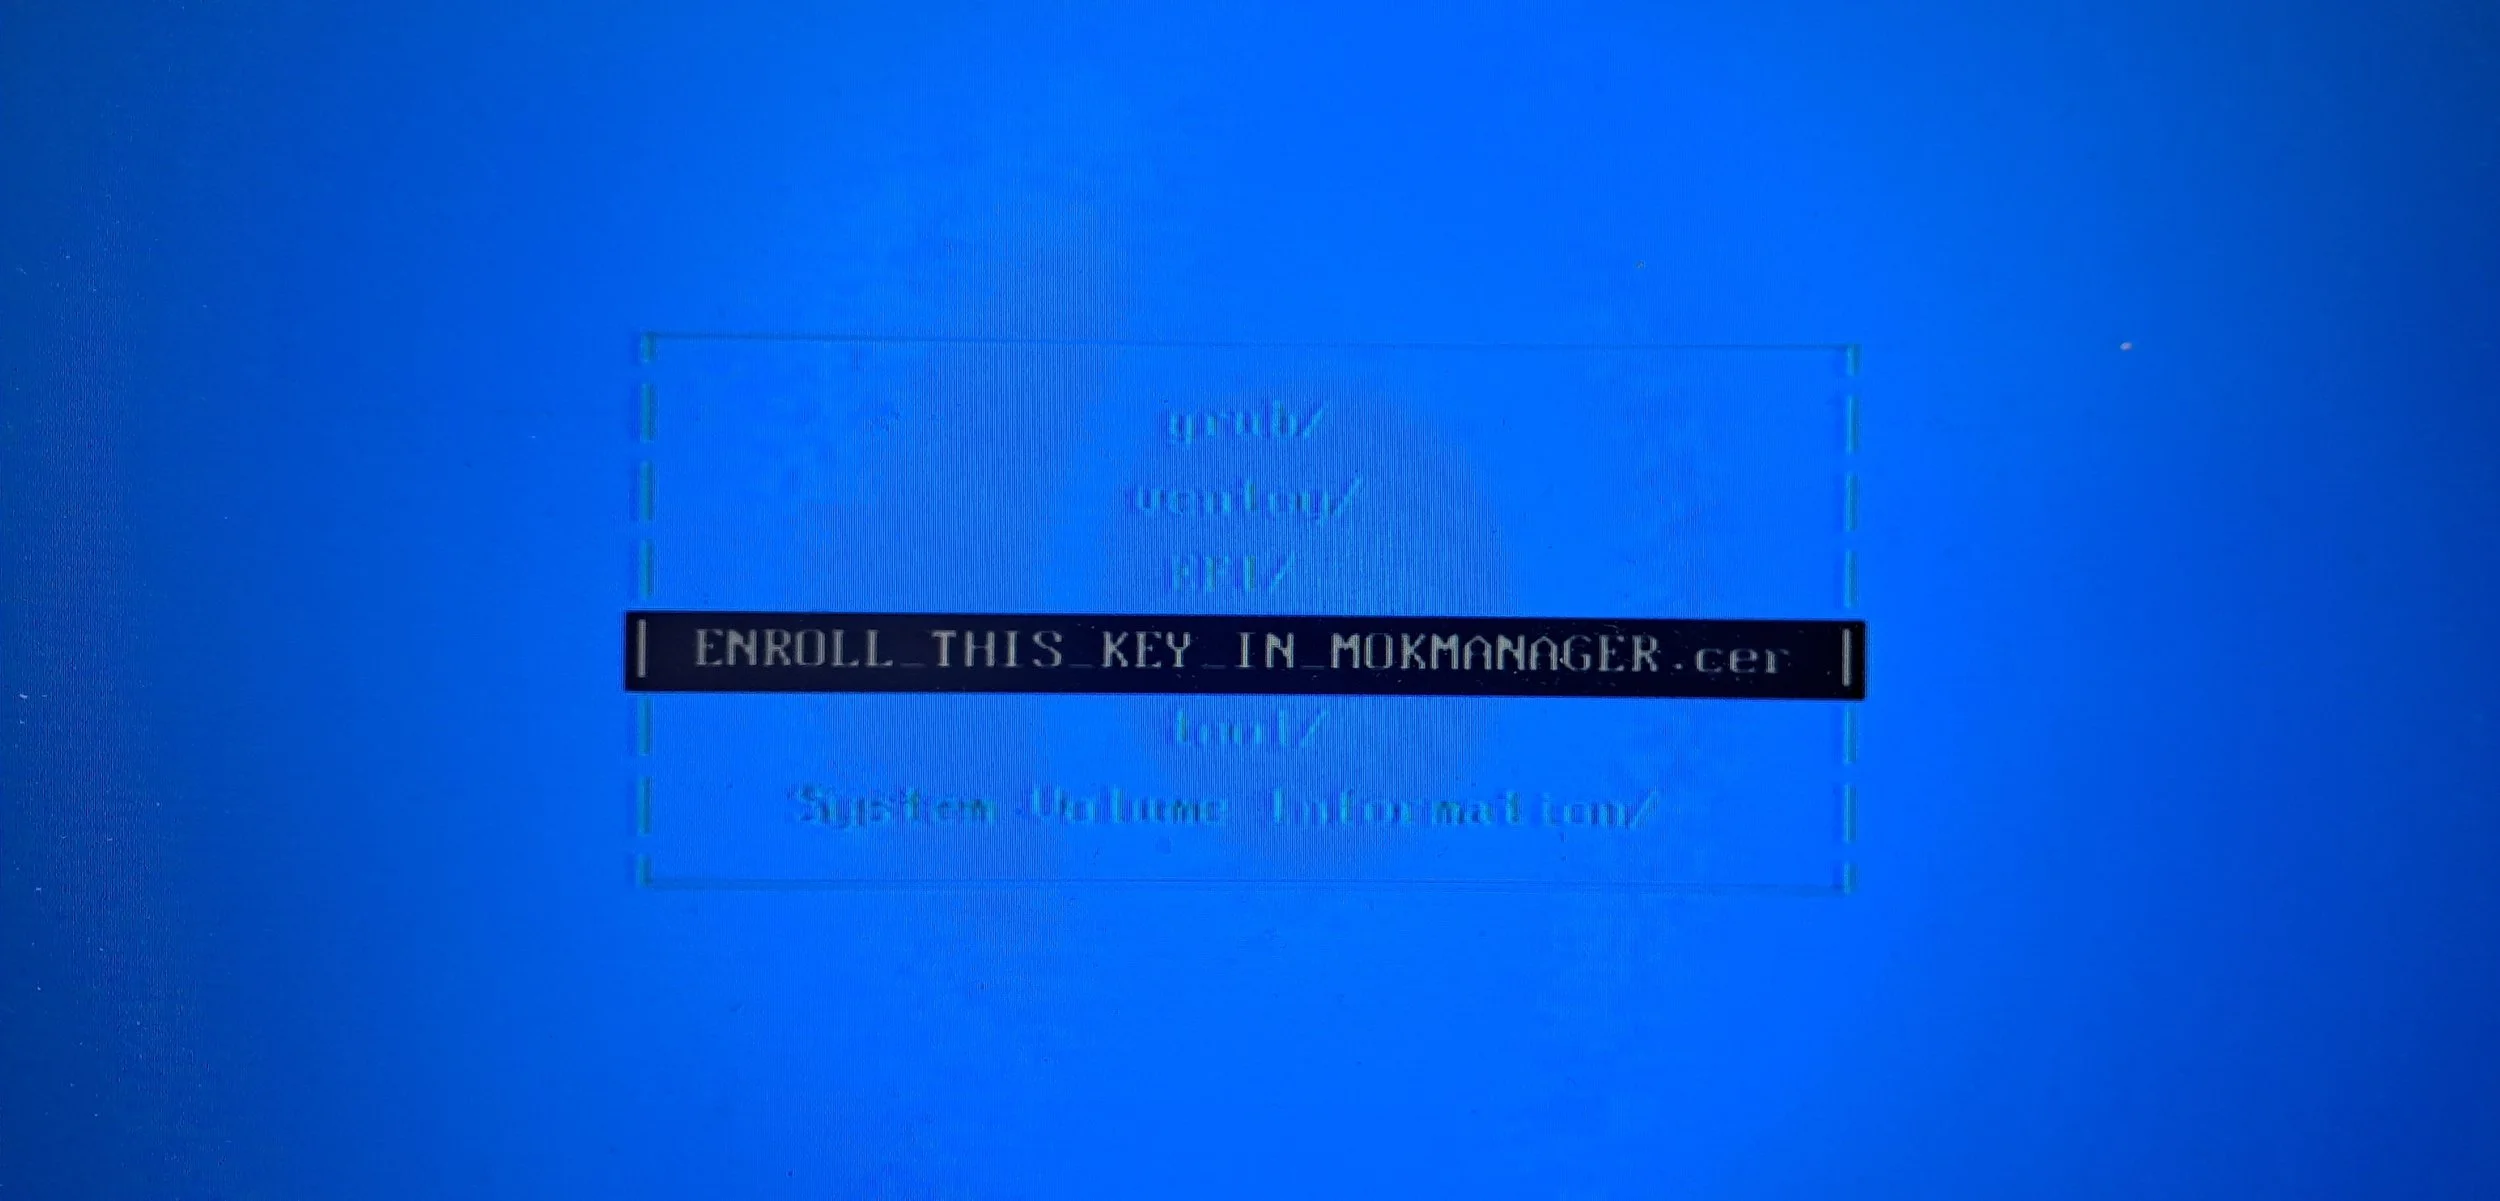
Select Enroll key from disk, then choose the option VTOYEFI.


Select the option to ENROLL_THIS_KEY_IN_MOKMANAGER.cer, confirm the prompt by choosing Yes, and then select Continue. That's it! Ventoy should now boot without any issues.

Things to consider
To make the most out of Ventoy, here are a few handy tips:
Organize ISO Files in Folders: Although Ventoy will detect ISOs in subfolders, keeping them organized can make it easier to manage if you have many images.
Add Persistence for Linux Distros: For Linux distributions, Ventoy allows creating a persistent file for distros that support it. Refer to the Ventoy documentation for specific instructions on setting up persistence with your chosen distro.
Keep Ventoy Updated: New versions of Ventoy often add support for more formats, fix bugs, or improve compatibility. You can update Ventoy on your USB without losing the ISOs on it by following the update instructions in the Ventoy app.
Final Thoughts
Ventoy is a pretty neat tool for anyone who needs flexibility in bootable USBs, whether for multi-OS setups, data recovery, or Linux live sessions. Its ability to handle multiple ISOs, offer persistence, and eliminate the need for constant reformatting makes it a strong alternative to other tools like Rufus. By simplifying multi-boot setups and supporting diverse image formats, Ventoy empowers users with a USB that can handle almost any booting need and also saves you the headache of looking for that particular USB with the OS you need that is hiding in one of your drawers.